Tutorial: Replacing a Faulty Disk in a RAID 1 Array (mdadm on Ubuntu 24.04)
In this tutorial, we’ll walk through replacing a failed or missing disk in a Linux (Ubuntu 24.04) RAID 1 setup using mdadm. This reflects a real-world scenario on an AMD Ryzen 7950X server with 2×1TB NVMe drives.
TUTORIAL
Tutorial: Replacing a Faulty Disk in a RAID 1 Array (mdadm on Ubuntu 24.04)
In this tutorial, we’ll walk through replacing a failed or missing disk in a Linux (Ubuntu 24.04) RAID 1 setup using mdadm. This reflects a real-world scenario on an AMD Ryzen 7950X server with 2×1TB NVMe (RAID1) drives.
We’ll simulate a failure, remove the bad disk, install a new one, and re-add it to the RAID array for automatic rebuilding.
You can find more details about RAID on our guide HERE
Direct link to RAID calculator
System Overview:
- CPU: AMD Ryzen 7950X
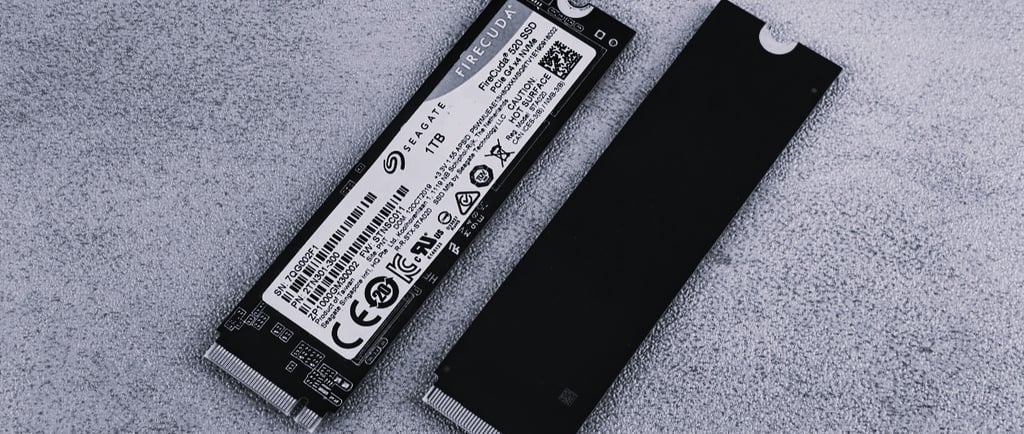
- Disks: 2 × 1TB NVMe
- RAID Type: RAID 1 (mirror)
- RAID Device: /dev/md0
- Healthy Disk: /dev/nvme0n1
- Failed Disk (to be replaced): /dev/nvme1n1
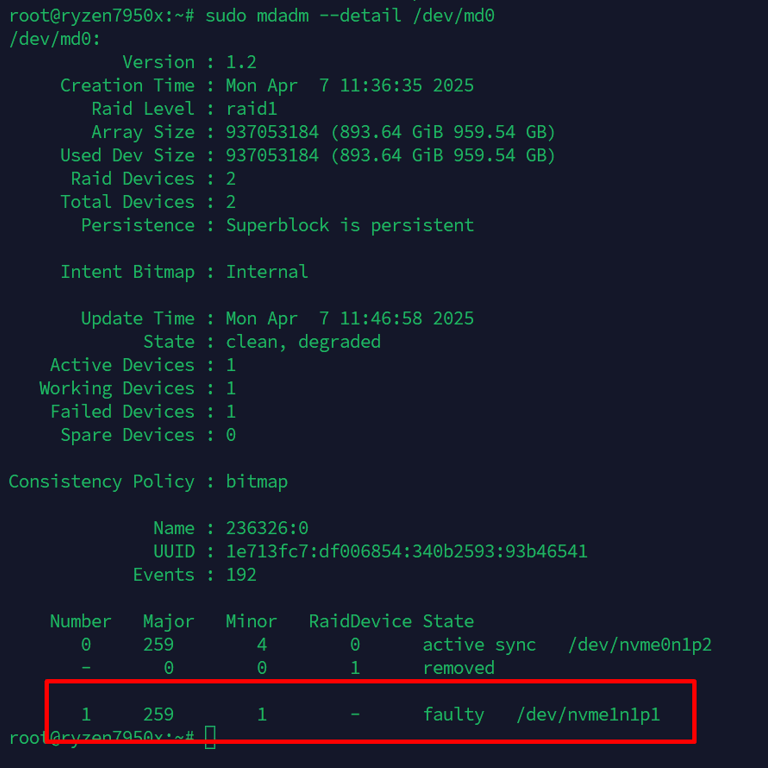
1. Check RAID Status
Use the following command to inspect the current state of the RAID:

State : clean, degraded
Active Devices : 1
Failed Devices : 1

2. Mark and Remove the Faulty Disk
If the faulty disk is still present but failing, run:
If the disk has already been physically removed, you can skip this step.
3. Replace the Faulty Disk
Power down the server (if required), physically remove the faulty disk, and install a new one. Boot back into the system.
4. Partition the New Disk
RAID 1 mirrors data inside partitions, not the partition layout itself. The new disk must match the layout of the healthy one.
Clone the partition table from the working disk:
-R=/dev/nvme1n1 /dev/nvme0n1: Copies the partition table.
-G: Regenerates the disk GUID to avoid conflicts.
Check the layout:
Make sure /dev/nvme1n1p1 exists and matches the partition size of /dev/nvme0n1p2.
5. Add the New Disk to the RAID Array
Once partitioned, re-add the new disk:
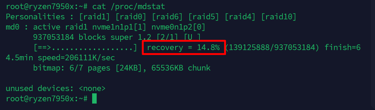
6. Monitor the Rebuild Process
Use this command to check the rebuild progress:

7. Confirm Rebuild Completion
When the rebuild is done, confirm the RAID status:
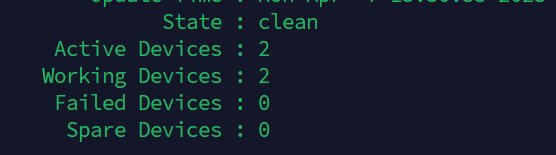
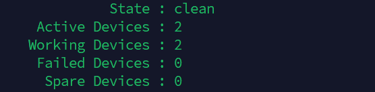
Expected output:
State : clean
Active Devices : 2
Failed Devices : 0
Optional: Update mdadm Config for Boot Persistence
Run the following to ensure mdadm config is saved for future boots:
With these steps, you've successfully replaced a failed RAID 1 disk and restored redundancy.
FAQ: RAID 1 Disk Replacement with mdadm
Q: Will my data be lost if one RAID 1 disk fails?
A: No. RAID 1 mirrors data, so as long as one disk is healthy, your data remains safe and accessible.
Q: Can I replace the disk without shutting down the server?
A: If your server supports hot-swapping NVMe drives, yes. Otherwise, shut down to safely replace the disk.
Q: Do I need to partition the new disk manually?
A: Yes, but you can easily clone the partition layout using sgdisk or sfdisk to match the existing healthy disk.
Q: How long does RAID 1 rebuild take?
A: It depends on the disk size and system load. For 1TB NVMe disks, it usually completes within 20–60 minutes under normal conditions.
Q: Do I need to reinstall the OS after replacing a disk?
A: No. You just partition the new disk to match, add it to the array, and mdadm handles syncing. No OS reinstall is needed.